Install the Following plugins in Jenkins. navigating to ManageJenkins > ManagPlugins
Select Stores scoped to Jenkins > Global Credentials > Add Credentials
Make sure you give some Id to the credentials.
Step:4 Create Pipeline.
pipeline {
environment {
registry = "syedghouse14/greet-user-repo"
registryCredential = 'Docker-Hub'
dockerImage = ''
dockerfile="${workspace}\\GreetUser\\Dockerfile"
pomfile="${workspace}\\GreetUser\\pom.xml"
}
agent any
stages {
stage('Cloning Git') {
steps {
git 'https://github.com/Syed-SearchEndeca/gretuser.git'
}
}
stage ('Build') {
steps {
withMaven(maven : 'apache-maven-3.6.3') {
bat "mvn clean package -f ${pomfile}"
}
}
}
stage('Building image') {
steps{
script {
dockerImage = docker.build registry + ":$BUILD_NUMBER",
"--file ${dockerfile} ."
}
}
}
stage('Deploy Image') {
steps{
script {
docker.withRegistry( '', registryCredential ) {
dockerImage.push()
}
}
}
}
stage('Remove Unused docker image') {
steps{
bat "docker rmi $registry:$BUILD_NUMBER"
}
}
}
}
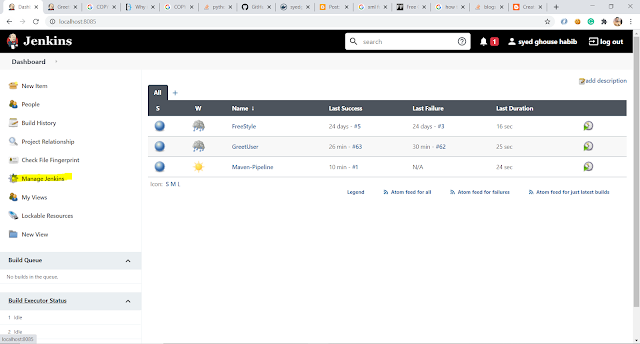
Step:5 Execute Success
Things to Consider
Make sure you pass the credentials created in the pipeline.
Pass the Docker File explicitly
"--file ${dockerfile} ."
You will encounter the following error and resolution for that.
Step 4/5 : COPY GreetUser-0.0.1-SNAPSHOT.jar app.jar
COPY failed: stat /var/lib/docker/tmp/docker-builder619200988/GreetUser-0.0.1-SNAPSHOT.jar: no such file or directory
In One of the step it fails, For this edit the docker file as below.
Initial Docker file.
FROM openjdk:8-jdk-alpine
ARG JAR_FILE=target/*.jar
COPY ${JAR_FILE} app.jar
ENTRYPOINT ["java","-jar","/app.jar"]
Modified Docker file.
FROM openjdk:8-jdk-alpine
RUN addgroup -S spring && adduser -S spring -G spring
USER spring:spring
ENTRYPOINT ["java","-jar","target/*.jar"]
Here I skipped the Copy Step Instead added the target directly. Hope this helps.
Happy Learning !!!!